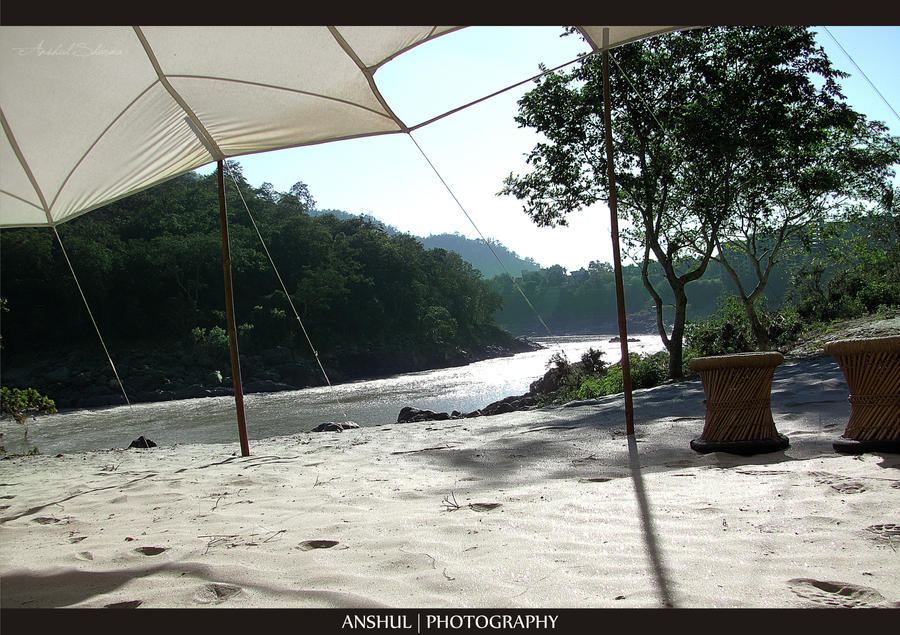
I was always mesmerized by those seemingly unreal clicks that always looked as if painted or digitally made. Then later i got to know about the new unexplored field of HDR (High Dynamic Range) photography. I went through some literature over it and started experimenting. First thing i did was try to fake the HDR effect in Photoshop ;)
Later on i tried some real HDR using exposure fusion and tone mapping.
Later on i tried some real HDR using exposure fusion and tone mapping.
Faking HDR
HDR cannot be achieved using a single jpeg image. But then again, photoshop can do anything :)
So i used this snap taken at Sangam (confluence of rivers Ganga and Yamuna), Allahabad, taken by my friend Pallavi.
 |
| Original |
and the result i got by playing with layers and different blending modes in PS is :
 |
| Photoshopped outcome |
There is this great tutorial for creating a fake HDR effect in PS using a single image HERE.
Real HDR Photography
Now, for the real deal, first you need to take the bracketed snaps. Always choose a place with a wide range of tones. You can either shoot a RAW image and develop the bracketed images from it, or you can shoot multiple shots of the same scene with varying exposure levels.
You need,
- A good digital camera. SLR's are always the best choice. I have a Cannon SX120. Its semi-professional but does the trick.
- A tripod, for keeping the camera still while taking the clicks. The camera should not move during the process or Tone mapping will be difficult in the post processing stage. You can do away with a tripod if you manage to keep the camera real still.
- A great subject or landscape. Goes without saying.
Bracketing means taking multiple snaps of the same subject with varying camera parameters in each shot. Here i varied the exposure level with each shot. What Exposure bracketing does is that it enhances the shadow details of the image when under-exposed, and enhances the highlights when over exposed. When you expose for a scene, your camera's light meter will select an aperture / shutter speed combination that it believes will give a properly exposed picture. So with multiple shots, you will be able to capture all the details of the image. I set-up the camera in manual mode and took 5 jpegs at different exposure levels (stops at -2 , -1 , 0 , +1 , +2). Some cameras can also be programmed to take multiple shots by automatic bracketing. You can also take a single RAW image. A RAW image takes much more memory space and the camera saves the image without any processing.
Now, for the post processing part, i used the Merge to HDR process of Photoshop (File>Automate>Merge to HDR) its real simple for beginners like me. Also, Photomatix is one of the best softwares available for HDR processing. In photomatrix , you can adjust the settings to get the look you want: from natural-looking with Exposure Fusion to painterly or surreal with Tone Mapping. For now i just used Photoshop and created a 32-bit HDR file.
After that, i adjusted the white point to get the perfect look and sharpened the image a little. Here is the final result,
As i said, its just the beginning. Have to experiment with Photomatix and its tone mapping feature now. I hope you guys will also try out some of your own HDR imagery and share with me.
Take a look at these stunning HDR Pictures to get some inspiration >> HERE
Labels:
HDR,
High Dynamic Range,
Photography,
Photoshop


